Guide · Taking the photos
How to take property photos with an iPhone (or any phone): the estate agent’s method
You can take listing photos with an iPhone that hold their own on Rightmove: any phone from the last five years will do, as long as you hold it at the right height, in the right spot, and edit afterwards. This guide covers the whole method, from the settings you change once to the order of the photos on the portal, including the frame the portals actually display and the mistakes no editing can rescue.
By Teddy Verneuil, founder of Maiso · Updated
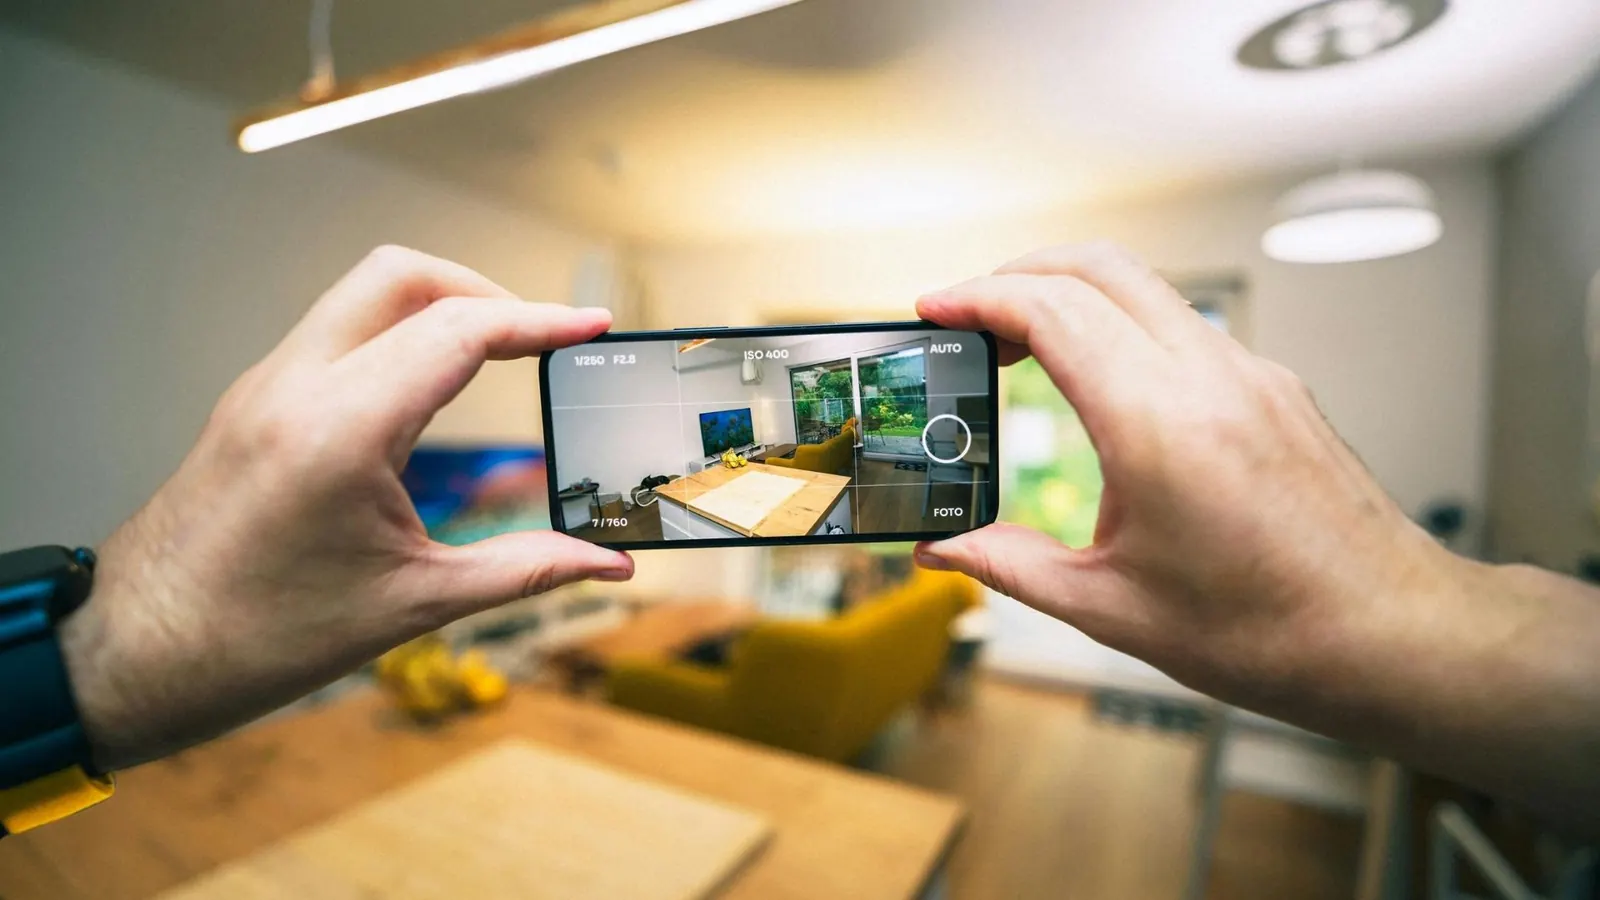
Your phone is enough, on three conditions
Every agent asks it sooner or later: is a phone good enough for listing photos, or is it worth what a photographer would charge instead? Yes, for most properties. The sensors in recent phones, and above all their ultra-wide lens, now do what used to take a dedicated camera and lens. Photographers will tell you it is more nuanced, and they have a point: the difference is no longer the device, it is what you do with it.
Three conditions separate a snapshot from a photo you can put in front of a buyer:
- A phone from the last five years, with an ultra-wide lens (the “0.5” in the camera app). That lens is what gets a whole room into the frame.
- Disciplined shooting: the right height, the right corner, the phone perfectly level. This is what the rest of this guide is about, and it is the clearest gap between amateur and professional photos.
- Editing afterwards: brighter light, true colours, straight verticals. A photographer edits every shot they deliver; a phone photo deserves the same.
Every before-and-after on our site was shot on a smartphone, handheld, with no tripod and no lighting. That is not a sales line: it is proof that these three conditions are enough.
The settings to change once, before your next valuation
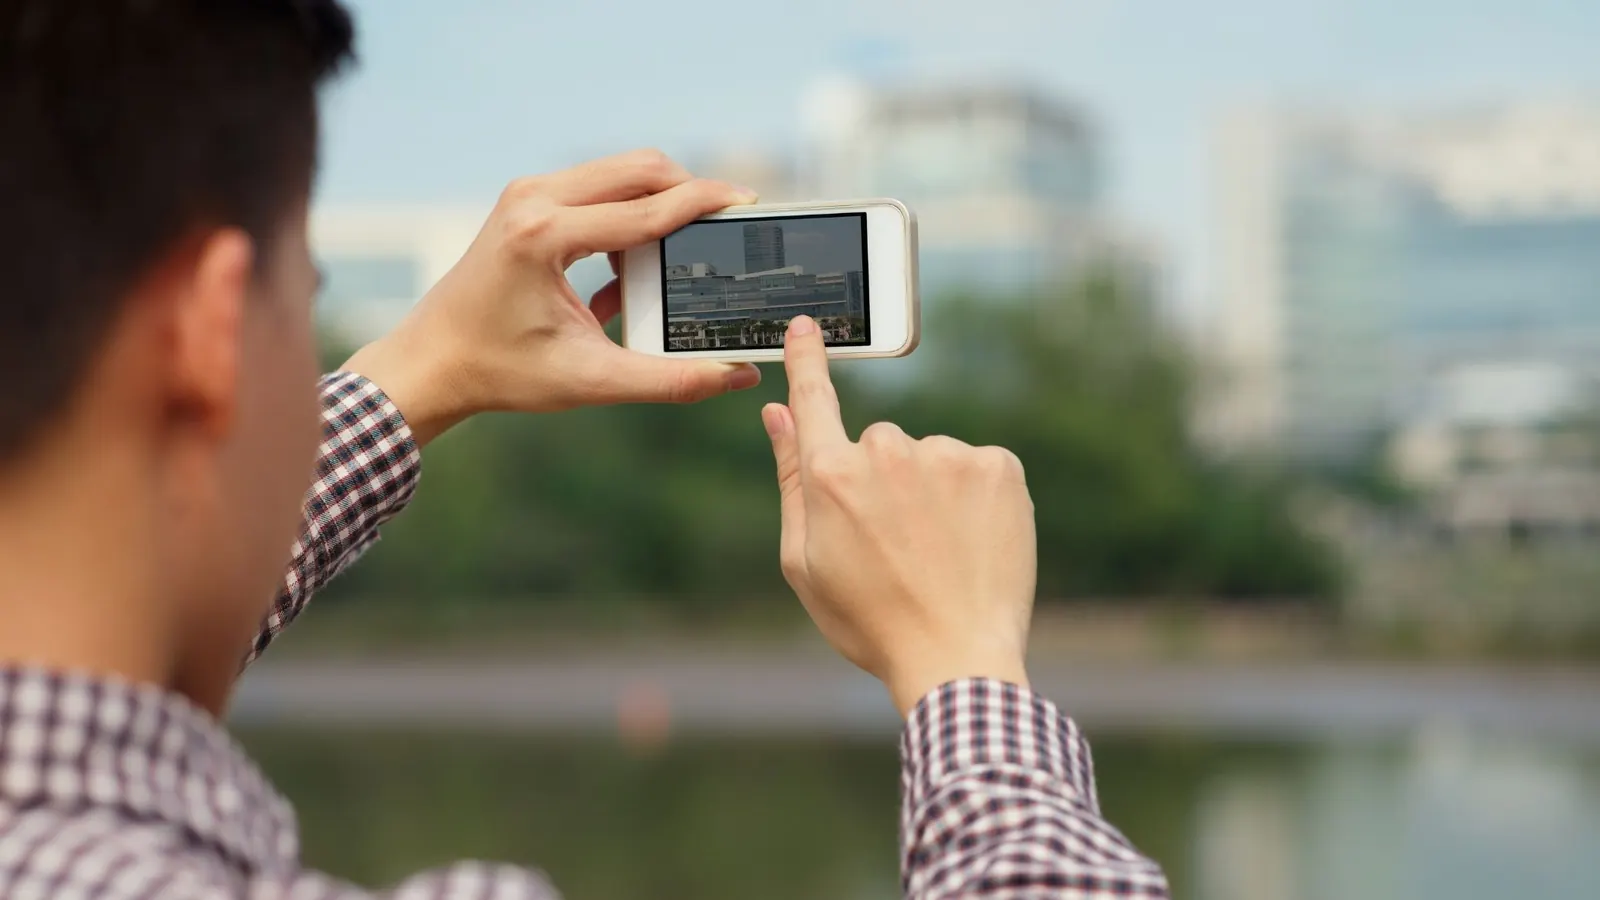
Three minutes in the settings, once, and every viewing benefits. The built-in camera app is all you need: there is no reason to install another one.
On an iPhone
- Grid: Settings, then Camera, then Grid. Two vertical and two horizontal lines appear: line them up with a door frame or the corner of a wall.
- Level: in the same menu, on an up-to-date iPhone. A line tells you when the phone is perfectly horizontal.
- Formats: “High Efficiency” saves photos as HEIC, which Zoopla does not list among the formats it accepts. That is fine if your photos go through an editing tool that exports JPEG; otherwise, choose “Most Compatible”.
- HDR: nothing to do, it is automatic on recent models. ProRAW on the Pro models adds nothing to a listing except very heavy files.
On Android
- Grid: open the camera, tap the settings cog and switch on the grid (called “Grid” or “Grid lines” depending on the brand).
- HDR: leave it on automatic. Pro mode and RAW add nothing for a listing.
- Formats: most Android phones save JPEG, which every portal accepts.
One last setting, on every phone: switch the flash off. It flattens rooms, bounces off windows and makes any home look like an inventory report.
Your iPhone shoots 4:3, Rightmove and Zoopla show 3:2
This is the detail nobody mentions. Rightmove asks for images in a 3:2 ratio, and so does Zoopla. Your iPhone shoots 4:3 by default, and its camera app offers no 3:2 option. A 4:3 photo does not fit a 3:2 frame: something has to give at the top or the bottom, and if you leave it to the portal, you do not choose what goes.
| Portal | Ratio | Size | Formats |
|---|---|---|---|
| Rightmove | 3:2 | Up to 1,024 px on the long side (1,024 × 683 for landscape) | Not stated on its help page |
| Zoopla | 3:2 | Best at 1,024 × 768, at least 645 × 430, under 5 MB | JPG, PNG, GIF, BMP (no HEIC) |
From the Rightmove and Zoopla help pages, checked on 1 October 2026.
Two habits fix it. When you frame, leave a little room above the ceiling line and below the floor, so that a 3:2 crop takes nothing that matters. Then crop the photos to 3:2 yourself before uploading, so that you decide what stays in the shot. A photo that is already 3:2 is displayed exactly as you framed it. The full list of what each portal asks for is in our guide to Rightmove and Zoopla photo requirements.
The 0.5 lens makes rooms bigger, and makes walls lean
Every guide tells you to use the ultra-wide lens, and rightly so: it is the only way to show a whole room. None of them says what it does the moment the phone is not perfectly level. Tilted a few degrees down, the ultra-wide makes walls converge towards the floor; tilted up, towards the ceiling. And near the edges of the frame, it bends straight lines.
In the test photos we shot in September 2026 on an iPhone 15 Plus with the ultra-wide lens (13 mm), the verticals of a living room leaned by 11.3° on average, and by 7.7° from a second corner of the same room. The room seems to fall backwards: that is exactly what makes a listing look like it was shot on a phone.
The rule fits in three lines:
- 0.5x in small rooms (bathroom, bedroom, hallway), where 1x only shows one wall.
- 1x in medium and large rooms, and for details (a fireplace, a bay window, a fitted kitchen). Lines stay straight.
- The phone always upright, screen parallel to the walls, never tilted to “fit in” the ceiling or the front of the house. Step back instead.
Even with these precautions, an ultra-wide photo often leans by a degree or two. That is the first thing an edit should correct.


Maiso: photo editing built for photos taken on a phone
Maiso started from a simple observation: most listing photos are taken on a phone, between two viewings, and they all have the same faults. A room that is a little dark, walls that lean, a worktop full of clutter. Maiso fixes all three at once and hands the photo back next to the original two minutes later.
- Enhance opens up the light, makes whites white again and straightens verticals. The tilt is measured first: only a photo that leans is straightened, and the result is checked against the original.
- Declutter, Empty, Stage remove everyday clutter, empty a room or furnish it virtually, with each simulation flagged in the studio.
- Crop to 3:2 for the whole set in one go, so every photo fits the Rightmove and Zoopla frame exactly as you chose.
Everything starts from the phone. Import straight from your camera roll, in JPEG or HEIC, start the batch from the car park, and find it all on the desktop back at the office. Photos come out as JPEG, accepted by every portal. A twenty-photo instruction costs under £5 on the Solo plan. Every tool is shown on real photos on our estate agent photo editing page, and our ranking of estate agent photo editing software shows how it compares with the others.


Try it free10 free credits, no card needed.
Where to stand: height, corner, two walls
Where you stand does more for a photo than any setting. Three rules, in every room:
- At chest height, about 1.2 m (4 ft). Higher and you show too much floor; lower and too much ceiling. In a kitchen or bathroom, go a little higher to show the worktop.
- From a corner of the room, to show two walls. One wall makes a flat photo; three make the room look smaller than it is.
- Window at an angle, never straight ahead. Facing a window, the phone exposes for the outside and plunges the room into shadow.
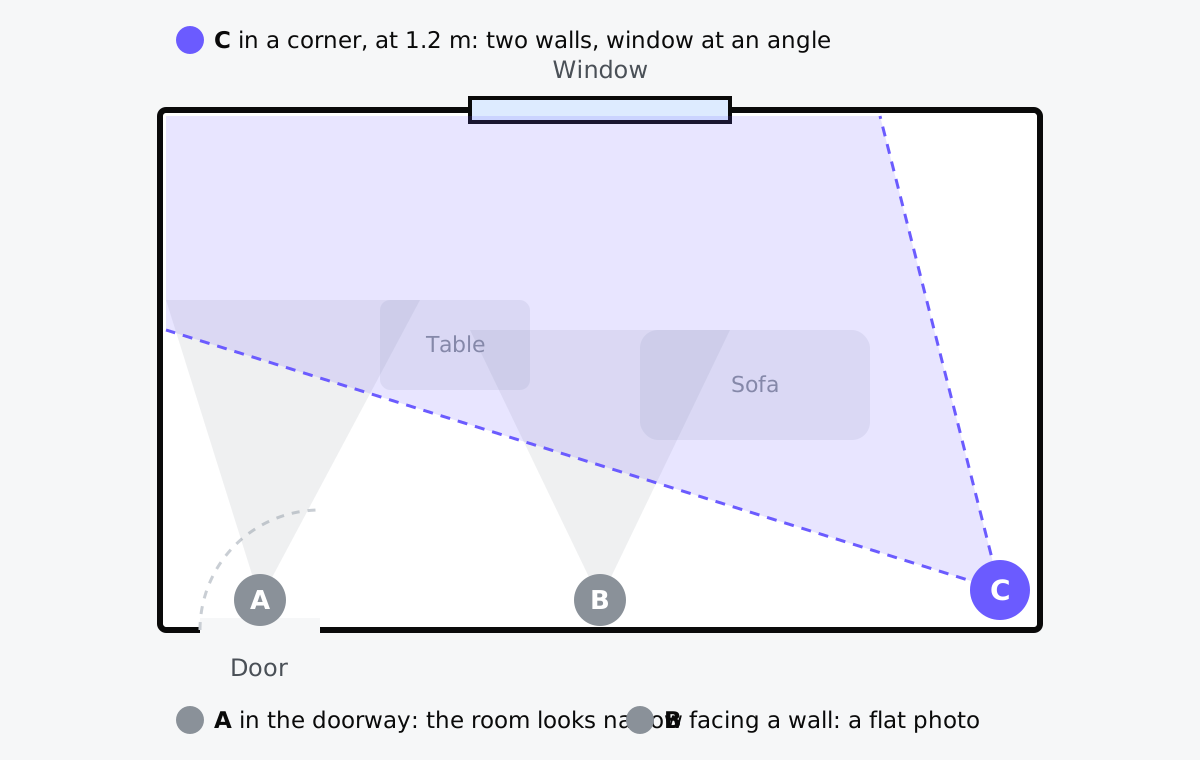
Once in position, take two or three shots while shifting the angle slightly. You will pick the best one later, and you will not have to go back.
Get the property ready in ten minutes
Ten minutes of preparation save an hour of editing. Room by room, when you arrive:
- Open every blind and every curtain.
- Switch on every lamp and ceiling light.
- Clear the worktops, the table and the windowsills.
- Put away towels, bath mats and shower products.
- Put the loo seat down.
- Remove family photos, post and anything with a name on it.
- Hide the bins, cables and chargers.
- Make the beds and straighten the duvets.
- Move the cars off the drive before the front exterior shot.
- Wipe the mirrors and any glass in the frame.
What editing can fix, and what it cannot
Editing can fix a forgotten object, a grey sky, a tired lawn, slightly dull light and walls that lean by a few degrees. It cannot fix a room shot in the dark, a frame that cuts half the lounge out, or a blurred photo. What can be fixed on site should be fixed on site. What an edit may and may not do to a listing photo is set out in our guide to what UK rules allow when you edit listing photos.
The full set: how many photos, and in what order
Zoopla’s own advice is to aim for 15 or more photos for a sale and 6 to 10 for a let, depending on the size of the property. Our guideline for how many to take and how many to publish:
| Property | Photos to take | Photos to publish |
|---|---|---|
| Studio flat | 10 to 12 | 6 to 8 |
| One-bedroom flat | 12 to 15 | 8 to 10 |
| Two or three bedrooms | 18 to 22 | 12 to 15 |
| House | 25 to 35 | 15 to 25, garden included |
Always take more than you publish: two angles per room, and keep the better one.
The order follows a viewing, as if the buyer were walking in: the front of the property, the reception room, the kitchen, the bedrooms, the bathroom, then the garden and any view. The lead photo is chosen before you leave: the front exterior if the kerb appeal is the selling point, otherwise the brightest reception room.
Light: the time of day, the windows, the backlight
Always shoot in daylight. Indoors, the middle of the day gives the most even light. For the front of the property, the time depends on which way it faces: morning for an east-facing frontage, midday for south-facing, afternoon for west-facing. A frontage shot against the sun comes out black against a white sky, and no edit makes it look natural.
Indoors, switch the lamps on even in broad daylight: they lift the dark corners and balance the light coming through the windows. And never frame a window head-on (see the diagram above).
HDR in three lines
HDR blends several exposures to keep both the room and the view through the window. On a recent phone it is automatic and does a very good job. Its limit: a bay window in full sun still comes out white. A bright white window is better than an invented view.
Six mistakes that ruin a set
- Portrait photos. Portals show photos in landscape: a portrait photo loses half its area. Always hold the phone sideways.
- A tilted phone. The most common mistake, and the most visible: walls falling over. Switch on the level and check it before every shot.
- The flash. Reflections in the glass, harsh shadows, flattened rooms. Keep it off.
- Your reflection in the mirror. In a bathroom, move until you are out of the mirror; if you cannot, an edit can remove you.
- Shooting from the doorway. Staying on the threshold turns the room into a corridor. Step in and stand in a corner.
- Pinch-to-zoom. Pinching the screen crops the image and loses sharpness. Only use the 0.5, 1 and 2 buttons in the camera app.
After the shoot: sort, crop, publish
Sort on site, before you leave: one photo per angle, the rest in the bin. Check that every room is there and that the lead photo is chosen. This is the moment to go back into a room if a shot is blurred; once you are back at the office, it is too late.
Then edit, crop to 3:2, and upload in the order of a viewing. Your photos will look on Rightmove and Zoopla exactly as you framed them.
Frequently asked questions
What is the best app for taking property photos on an iPhone?
The built-in Camera app, once the grid and the level are switched on. A specialist capture app is only worth it for guided HDR or 360° tours. Quality comes from how you shoot and how you edit, not from the app that takes the picture.
Which phone is best for property photos?
Any phone from the last five years with an ultra-wide lens (the “0.5”). High-end models handle dark rooms better, but the difference shows far less than a tilted phone or a badly lit room.
Do I need a tripod?
Not in daylight. A tripod helps in a dark room, where the phone uses a longer exposure, and to keep the same height from one shot to the next. For an ordinary appointment, two hands and your elbows tucked in are enough.
Can I photograph a property with tenants still living there?
Yes, with the tenants’ agreement and proper notice, and by keeping everything personal out of the frame: family photos, post, documents, names on doors. A buyer or new tenant should be able to picture themselves there; the current occupants should not recognise their own life.
How long does it take to photograph a flat?
For a two-bedroom flat, allow ten minutes to get it ready and fifteen to twenty minutes to shoot. With the editing started from your phone, the photos can be live the same evening.
Your next photos, taken on your phone, ready in two minutes.
Ten free credits, no card needed: enough to edit a whole instruction and judge the results on your own photos.